How to Get Shaders on Minecraft Android: A Step-by-Step Guide
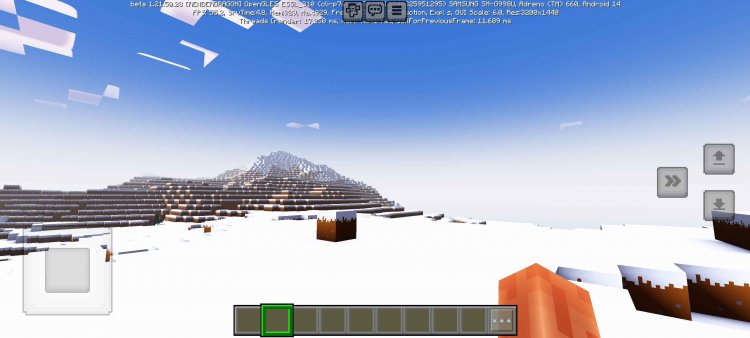
Minecraft is a game of creativity and limitless exploration. For those playing on Android, shaders can take your Minecraft experience to the next level by enhancing graphics and lighting effects. Here’s a simple, step-by-step guide to help you get shaders on Minecraft Android.
Step 1: Download an APK Engine for Beta Mode
The first step to unlocking shaders in Minecraft on Android is to download an APK engine that supports beta features. Beta versions of Minecraft often allow for enhanced customization options, which are necessary for adding shaders. Follow these steps:
-
Download the APK file from a trusted source. Below is linked a trusted beta version of mcpe. Be sure to verify the source’s credibility to avoid potential malware.
-
Install the APK engine on your device. If prompted, enable installation from unknown sources in your device settings.
-
Open the APK engine and ensure it’s linked to your installed version of Minecraft.
This APK engine will allow you to enable beta features and integrate shaders seamlessly.
Step 2: Get a File Manager
Once the APK engine is installed, the next step is to organize and manage your shader files using a file manager app. These apps make it easy to locate, download, and transfer shader packs to Minecraft. Here’s how to proceed:
-
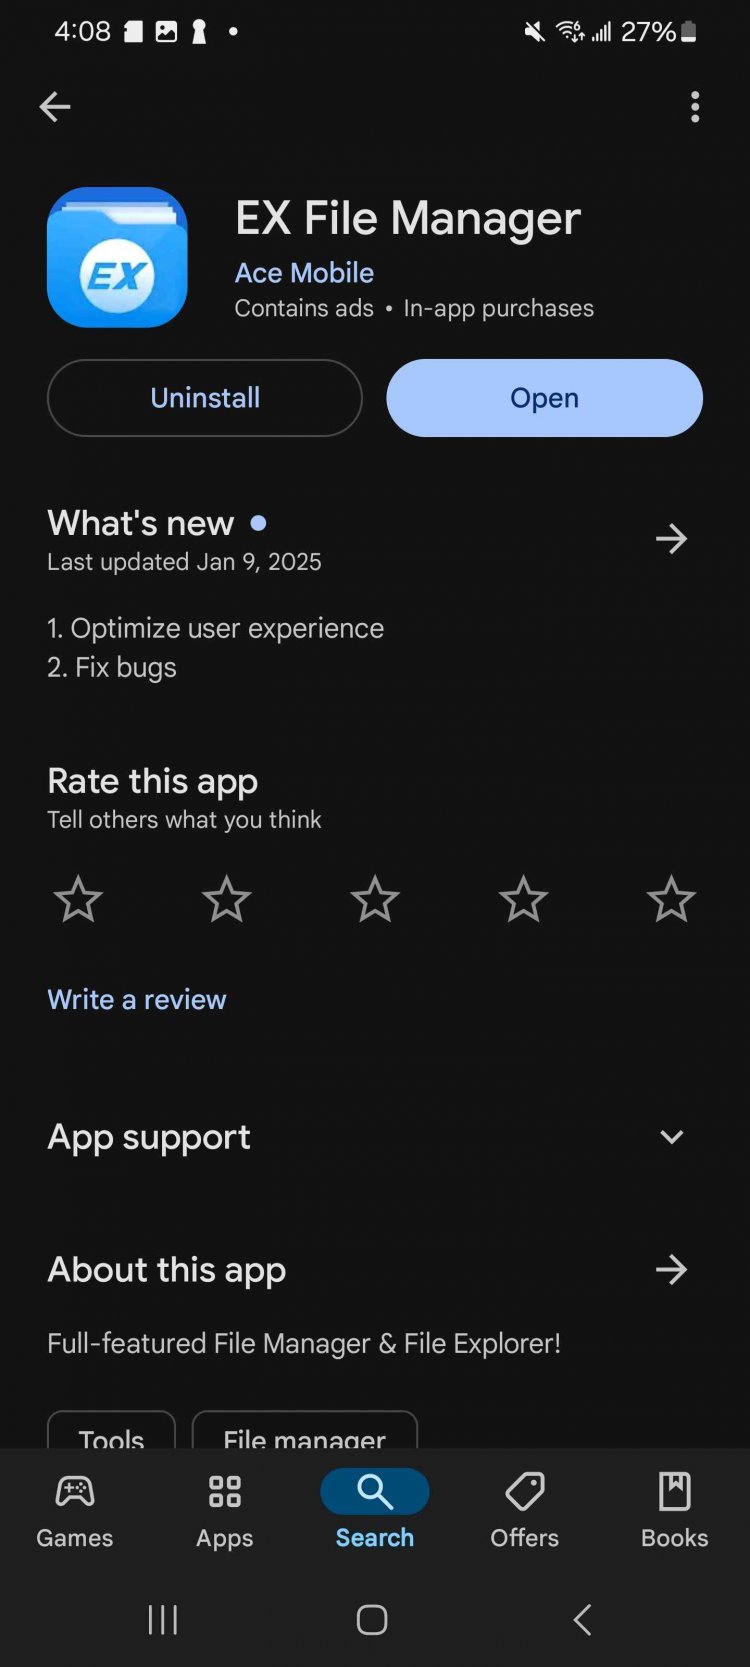
Download a file manager app from the Google Play Store. Popular options include File Manager+, ES File Explorer, or CX File Explorer, or EX File Manager
-
Use the file manager to navigate to your device’s download folder where shader packs will be stored.
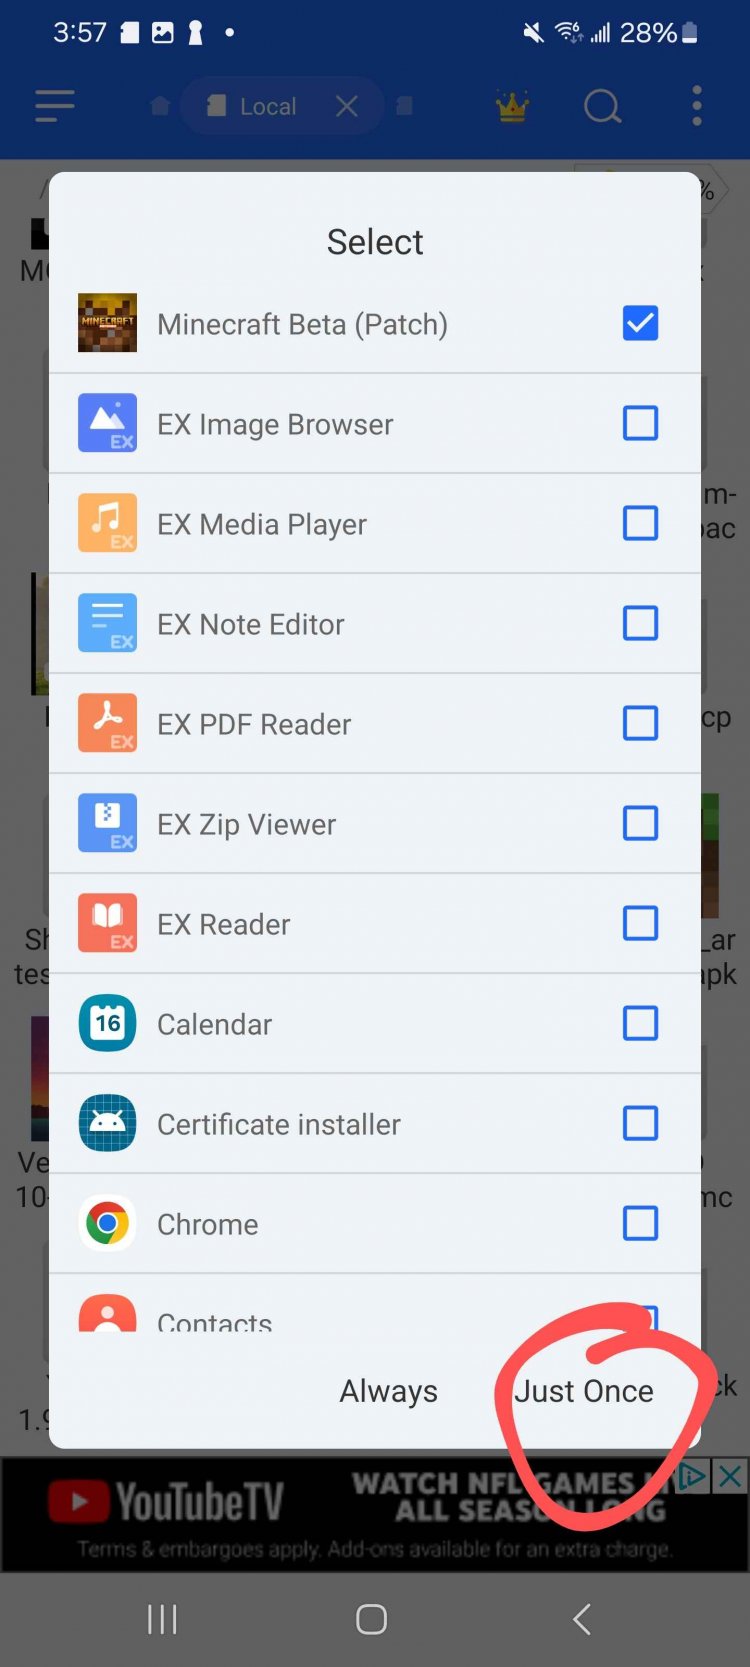
- Open and import to the new minecraft apk, I recommend to always hit "allow once" just incase you need an updated version.
Having a file manager ensures that you can easily locate and import shaders into Minecraft.
Step 3: Import Shaders into Minecraft
With the APK engine and file manager in place, it’s time to download and import your chosen shaders into the game:
-
Search online for Minecraft shaders compatible with your Android device. You can find a list here.
-
Download the shader pack file, typically in .mcpack or .zip format.
-
Open your file manager and navigate to the downloaded shader file.
- If its in .zip format rename it to just ending in .mcpack
-
Tap on the shader file, and it will prompt you to open it in Minecraft. Select Minecraft to import the shader pack.
-
Once imported, you’ll see a confirmation message in Minecraft.

Step 4: Add Shaders to a World and Enable Creator Features
The final step is to activate the shaders in your Minecraft world:
-
Open Minecraft and navigate to Settings > Global Resources.
-
Find the imported shader pack and click “Activate.”
-
Create a new world or edit an existing one. Under Game Settings, enable “Creator Features” or “Experimental Features.”


-
Load your world, and you’ll immediately notice the enhanced graphics and lighting effects.
Tips for a Smooth Experience
-
Check Device Compatibility: Some shaders require higher performance and may not work on older or low-end devices.
-
Backup Your Worlds: Before enabling experimental features, back up your Minecraft worlds to avoid data loss.
-
Stay Updated: Keep your APK engine, file manager, and Minecraft app updated for the best compatibility.
Conclusion
Adding shaders to Minecraft on Android is a straightforward process that requires a few tools and some preparation. By following this guide, you can transform your Minecraft experience with stunning visuals and lighting effects. Get started today and enjoy the immersive beauty of Minecraft with shaders!
APK Download
Recommended Shaders
Recommended Texture Pack for recommended shadersVanilla Shaders for low end devicesShaders Page
If APK Not working join this discord for support, also updates are in this discord server
What's Your Reaction?




![Patrix Resource Pack For 1.19 [32x→256x]](https://minecraftmodded.com/uploads/images/202210/image_750x415_6343b3ab59eff.jpg)

